Tag: sand level

  • How to Sand Level Your Yard: Complete Guide, Costs, Benefits, and Tools

    A perfectly smooth lawn is more than just eye candy—it makes mowing easier, improves grass health, and prevents water pooling.
    If your yard is full of bumps, dips, or uneven spots, sand leveling—also known as lawn topdressing—is one of the best DIY ways to fix it.
    This guide will teach you everything you need to know about sand leveling your yard, including:

    • The step‑by‑step process to level your yard
    • When to do it and how often
    • Which type of sand to use
    • Cost and DIY vs. professional breakdowns
    • Top recommended tools, including Amazon affiliate picks

    Whether you have a bumpy Bermuda grass lawn or a cool‑season grass yard, learning to sand level can completely transform your landscape—and save you thousands compared to hiring a pro.


    What is Sand Leveling?

    Sand leveling, also called topdressing, is the process of spreading a thin, even layer of sand—or a sand‑soil mix—over your lawn to smooth out uneven surfaces. Over time, most lawns develop:

    • Low spots caused by soil settling
    • Bumps from tree roots, ant mounds, or debris
    • Water pooling areas from poor drainage
    • General unevenness caused by foot traffic, pets, or mowing

    Sand fills these low spots and helps create a smooth, uniform surface. Over a few weeks, grass grows through the sand layer and recovers with an even, professional‑looking finish.

    Golf courses, sports fields, and professional landscapes use sand leveling regularly to maintain perfect turf conditions. Homeowners can achieve the same results without heavy machinery.


    When Should You Sand Level Your Yard?

    Timing is everything in lawn care. Sand leveling works best when your grass is actively growing, so it can recover quickly and fill in the sanded areas.

    Best Timing by Grass Type

    • Warm‑season grasses (Bermuda, Zoysia, St. Augustine): Late spring to mid‑summer, once the lawn is green and growing vigorously.
    • Cool‑season grasses (Fescue, Kentucky bluegrass, Ryegrass): Early fall or late spring, avoiding summer heat stress.

    Avoid winter or dormant periods. Leveling a dormant lawn can smother grass and slow recovery.

    Signs Your Lawn is Ready for Leveling

    • Your mower frequently scalps high spots
    • Water pools after rain or irrigation
    • The lawn feels bumpy when walking barefoot
    • Grass growth looks uneven or patchy

    Benefits of Sand Leveling Your Yard

    Sand leveling offers immediate and long‑term benefits that go beyond aesthetics:

    • Smoother mowing: Prevents mower scalping and reduces wear on equipment.
    • Improved drainage: Reduces puddles and waterlogging in low spots.
    • Healthier grass: Encourages even growth and better root contact with soil.
    • Reduced trip hazards: Creates a safer yard for kids, pets, and foot traffic.
    • Better curb appeal: A flat, professional‑looking lawn adds to your property value.
    • Long‑lasting results: Sand does not decompose, so once your lawn is leveled, it stays smoother over time.

    Tools You’ll Need

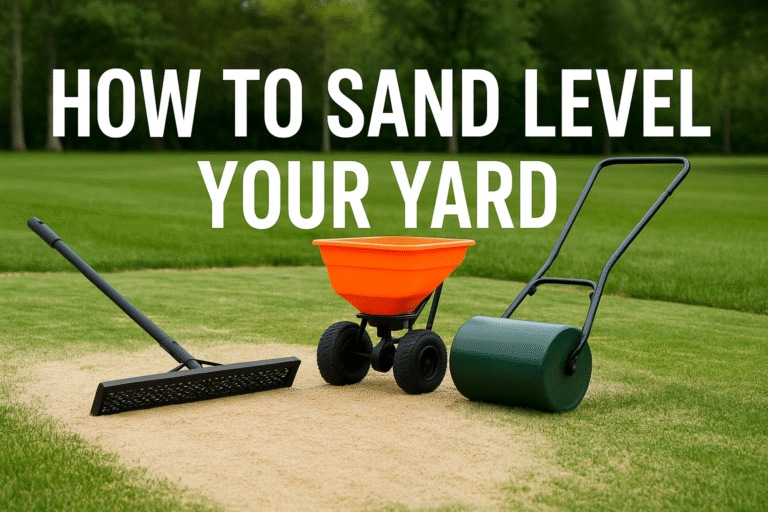
    You can sand level your lawn with basic tools, but having the right equipment makes the job faster and easier.
    Here’s the essential DIY leveling toolkit:

    • Wheelbarrow or buckets – to transport sand
    • Shovel – for filling low spots
    • Leveling rake or lawn lute – for spreading and smoothing sand evenly
    • Push broom – to work sand into grass blades
    • Lawn roller (optional) – to compact sand and create a perfectly smooth finish

    Below, we’ve included three recommended Amazon tools that make leveling much easier.


    Recommended Amazon Tools for Lawn Leveling

    Using high‑quality tools saves time and produces a more professional finish. Here are three top picks with your affiliate code ready to use:

    1. Heavy‑Duty Lawn Leveling Rake

    A lawn leveling rake is a must‑have for spreading sand smoothly. Its wide, flat head helps feather out sand without gouging the grass.


    👉 Check Price on Amazon

    2. Broadcast Spreader

    A broadcast spreader helps distribute sand or sand‑soil mix more evenly across larger areas. It’s also perfect for fertilizer and seed applications year‑round.


    👉 Check Price on Amazon

    3. Lawn Roller

    A lawn roller helps compact sand and smooth your surface after spreading. It also assists in pressing grass roots back into soil contact.


    👉 Check Price on Amazon

    Tip: If your lawn is small, you can get away without the roller. For larger lawns, it makes a big difference.


    Types of Sand You Can Use

    Not all sand is created equal. The right sand improves drainage and levels the lawn without compacting your soil.
    Here are the best options:

    • Washed Masonry Sand: Fine, clean sand that blends with soil. Most recommended for homeowners.
    • USGA Golf Course Sand: Consistent particle size and great for drainage, though pricier.
    • Sand/Compost Mix: 70% sand and 30% compost adds organic matter to your lawn while leveling.

    Avoid play sand or construction sand—they’re often too fine or contain debris, which can lead to compaction and poor drainage.


    Step‑by‑Step: How to Sand Level Your Lawn

    Leveling your yard can be a satisfying weekend project. Follow these steps for the best results:

    1. Mow your lawn short. Trim grass 30–50% lower than usual to expose bumps and low spots.
    2. Dethatch or aerate. If you have a heavy thatch layer, remove it so sand can reach the soil.
    3. Identify low spots. Walk the yard or use a straight board to see dips.
    4. Apply sand or topdressing mix. Focus first on the lowest areas.
    5. Spread evenly with your leveling rake. Feather edges to blend smoothly with existing grass.
    6. Brush or drag sand into grass. A push broom or drag mat works well.
    7. Water lightly. Helps sand settle without washing it away.
    8. Repeat lightly if needed. Multiple thin layers are better than one heavy application.

    Cost of Sand Leveling

    The cost of sand leveling depends on your yard size, sand type, and whether you hire a professional.

    DIY Cost Breakdown

    • Sand: $40–$80 per cubic yard (covers ~1,000 sq. ft. at ¼” depth)
    • Tool rental: $20–$50/day for a roller or leveling rake
    • Total for small lawn (1,000–2,000 sq. ft.): $100–$300

    Professional Service Costs

    Hiring a pro can cost $1,000–$3,000+ depending on yard size. DIY is a fraction of the price.

    Cost Benefit: Doing it yourself with $200 of materials can save thousands—and the tools can be reused yearly.


    Final Tips for Success

    • Apply sand in thin layers to avoid smothering grass.
    • Level in growing season for quick recovery.
    • Use clean, washed sand to prevent weed contamination.
    • Water lightly after each application to help sand settle.

    In 2–4 weeks, your lawn will start to show results: smoother mowing, healthier grass, and a professional look right at home.
  • I Just Topdressed My Bermuda Lawn with Sand — What Do I Do Next?

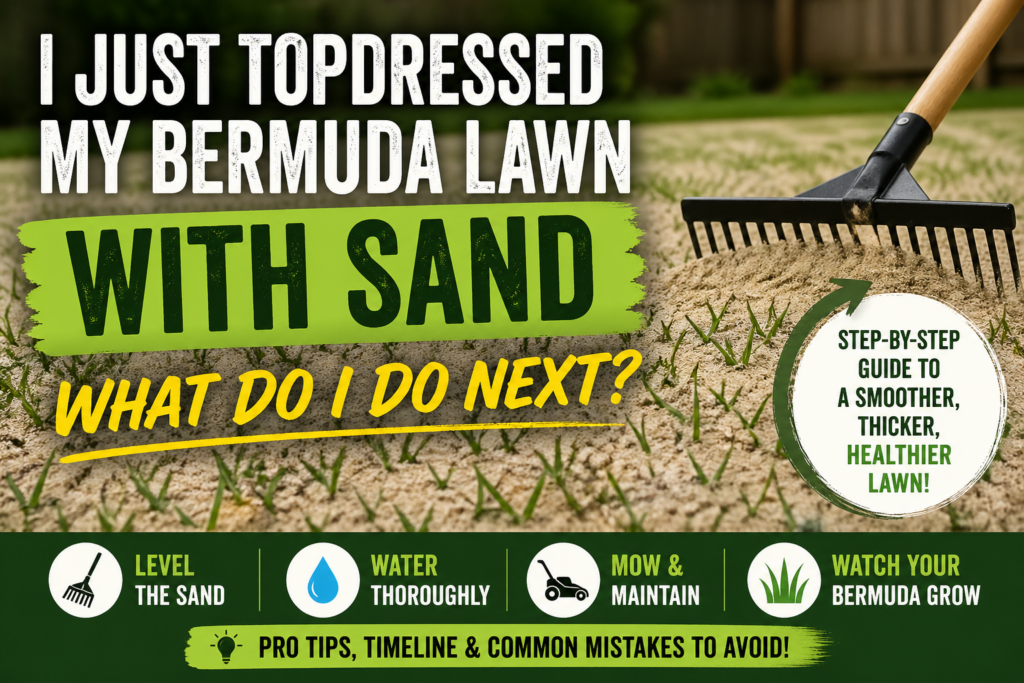
    If you just finished topdressing your Bermuda lawn and stepped back to admire your work, you may have had a moment of panic.

    Instead of seeing lush green grass, your yard probably looks like a beach.

    Sand everywhere.

    Grass partially buried.

    Uneven patches where the sand piled up.

    Maybe you’re wondering:

    “Did I just ruin my lawn?”

    The good news is — you did not ruin anything.

    In fact, if done properly, topdressing with sand is one of the best things you can do for a Bermuda lawn.

    Golf courses do it. Athletic fields do it. Professional turf managers rely on it.

    But the key to success is not just spreading the sand. It is what you do next that determines how fast your lawn recovers and how good it looks by summer.

    Why Sand Topdressing Is So Powerful for Bermuda Grass

    Bermuda grass is a spreading grass. It grows using horizontal stems called stolons and rhizomes.

    These runners allow Bermuda to grow through sand layers extremely well.

    Unlike some grasses that struggle when partially buried, Bermuda can thrive after topdressing because sand helps:

    • Improve drainage
    • Reduce soil compaction
    • Level uneven areas
    • Encourage lateral spreading
    • Create a smoother mowing surface

    This is why golf courses and athletic fields frequently use sand as part of their turf maintenance programs.

    What Your Lawn Should Look Like After Topdressing

    Right after topdressing, your lawn may look rough. That is completely normal.

    You may see:

    • Grass blades sticking through sand
    • Bermuda runners laying across the surface
    • Some areas partially buried
    • Light and dark patches across the yard
    • Uneven sandy spots where the sand settled

    The goal is not to completely bury the grass. The goal is to work sand down into the canopy and low areas so the Bermuda can grow through it.

    If you can still see some green, runners, or blades sticking through the sand, that is usually a good sign.

    Step 1: Drag, Brush, or Level the Sand

    The first thing to do after spreading sand is to even it out across the lawn.

    Sand can collect in piles, especially in low spots. If those piles are too deep, they can slow recovery or smother parts of the grass.

    You can level the sand using:

    • A lawn leveling rake
    • A landscape rake
    • A push broom
    • A drag mat
    • A section of chain-link fence

    The goal is simple:

    Spread the sand evenly and remove any heavy piles sitting on top of the grass.

    You do not need perfection on day one. You just want to make sure the sand is not too thick in one area and too thin in another.

    Step 2: Water the Lawn Immediately

    After the sand is leveled, water the lawn thoroughly.

    Watering helps the sand settle down into the grass canopy and soil surface.

    Watering also helps:

    • Reduce stress on the Bermuda
    • Wash sand off the grass blades
    • Settle sand into low spots
    • Encourage runners to grow through the sand

    You do not need to flood the yard. Just give it a good, deep watering so the sand begins settling into place.

    Step 3: Do Not Panic During the Ugly Phase

    After topdressing, your lawn may look worse before it looks better.

    This is what I call the ugly phase.

    During this stage, your yard may look sandy, uneven, pale, or stressed.

    That does not mean the lawn is ruined. It means the Bermuda is adjusting and preparing to grow through the sand layer.

    Bermuda grass is aggressive when it has heat, sunlight, water, and nutrients. Once it starts pushing new growth, it can recover quickly.

    Step 4: Resume Mowing Sooner Than You Think

    One of the biggest mistakes homeowners make after topdressing is waiting too long to mow.

    Many people think they need to leave the lawn alone for weeks. But Bermuda grass responds well to frequent mowing, especially during active growth.

    Once the grass begins standing back up and the sand has settled, you can resume mowing.

    Mowing helps:

    • Encourage lateral growth
    • Prevent runners from growing straight up
    • Keep the lawn even
    • Train the Bermuda to spread sideways

    If you use a reel mower, make sure there are no large piles of sand sitting on the surface. Sand can dull blades, so it is important to brush or water the sand down before mowing.

    Step 5: Keep the Lawn Moist, Not Soaked

    Water is important after topdressing, but more water is not always better.

    Your goal is to keep the Bermuda actively growing without creating muddy or washed-out areas.

    Too much water can:

    • Move sand away from high spots
    • Create puddles in low spots
    • Cause uneven settling
    • Make the lawn too soft to mow properly

    A good rule is to water enough to keep the soil lightly moist while the Bermuda recovers.

    As the grass starts growing through the sand, you can slowly return to your normal watering schedule.

    Step 6: Fertilize to Push Bermuda Recovery

    Topdressing is a great time to encourage new Bermuda growth.

    Once the sand has settled and the lawn is actively growing, fertilizer can help the grass recover faster.

    Bermuda grass loves nitrogen during the growing season. Nitrogen helps promote:

    • Fast recovery
    • Dark green color
    • Thicker turf
    • More aggressive spreading

    Do not overdo it. The goal is to feed the lawn enough to encourage growth, not force weak, excessive top growth.

    A balanced approach with watering, mowing, and fertilizer is what brings the lawn back strong.

    Step 7: Watch for Runners Growing Through the Sand

    One of the most exciting things after topdressing Bermuda is seeing new runners move across the sand.

    At first, you may see long Bermuda runners laying on top of the sandy surface.

    That is normal.

    Those runners are how Bermuda repairs itself and spreads into thin areas.

    Over time, they will root down, send up new shoots, and help cover the sand.

    This is why Bermuda is such a good grass for topdressing and leveling projects.

    Step 8: Do Not Add Too Much More Sand Too Soon

    After the first topdressing, you may notice low spots that still need work.

    That is normal.

    Lawn leveling is usually not a one-time project.

    But avoid the temptation to dump more sand everywhere right away.

    Give the Bermuda time to recover first.

    If small low spots remain, you can lightly touch them up later with thin layers of sand.

    The key is gradual improvement.

    It is better to apply multiple light layers over time than one heavy layer that smothers the grass.

    Step 9: Expect Recovery to Take a Few Weeks

    Recovery time depends on weather, watering, mowing, fertilizer, and how much sand was applied.

    During warm growing conditions, Bermuda can begin pushing through sand fairly quickly.

    You may notice improvement within a week or two, with bigger visual changes over several weeks.

    If the lawn still looks sandy after a few days, do not panic.

    That is part of the process.

    As long as the Bermuda is alive and growing, it will continue filling in.

    Common Mistakes After Topdressing Bermuda Grass

    Mistake 1: Applying Too Much Sand

    Too much sand can bury the grass and slow recovery.

    Thin layers are safer and more effective.

    Mistake 2: Not Watering Enough

    If the sand stays dry and loose, it may sit on top of the canopy instead of settling into the lawn.

    Mistake 3: Waiting Too Long to Mow

    Bermuda needs mowing to stay dense and spread sideways.

    Mistake 4: Overwatering

    Too much water can wash sand around and create uneven areas.

    Mistake 5: Expecting Perfection Immediately

    Topdressing is part of a long-term lawn improvement process. The lawn may not look perfect the next day, and that is okay.

    Should You Aerate Before Topdressing?

    If you aerated before topdressing, that is a great combination.

    Core aeration opens the soil, reduces compaction, and allows sand to settle into the holes.

    This can help improve the soil profile over time.

    However, even if you did not aerate, topdressing can still help smooth and improve the lawn surface.

    Should You Use Masonry Sand, Play Sand, or Topdressing Sand?

    For Bermuda lawn leveling, many homeowners use clean masonry sand or leveling sand.

    The most important thing is that the sand is clean and free of rocks, debris, clay clumps, or weed seeds.

    Avoid sand that is too chunky or full of large particles, because it can make mowing rough and uneven.

    Clean sand spreads better, levels easier, and works into the turf canopy more smoothly.

    When Will My Lawn Turn Green Again?

    If your Bermuda was actively growing before topdressing, it should begin recovering as long as temperatures are warm and the lawn receives proper water and nutrients.

    The lawn may look sandy for a while, but green growth should gradually return as the Bermuda pushes through the sand.

    The more active the Bermuda is, the faster it will recover.

    That is why topdressing is best done during the growing season when the grass is strong enough to heal and spread.

    Can I Spray Liquid Fertilizer After Topdressing?

    Yes, liquid fertilizer can be useful after topdressing if the Bermuda is actively growing.

    Liquid feeding can help push quick green-up and recovery, especially when paired with proper watering.

    Just avoid applying too much nitrogen at once.

    More is not always better. A steady feeding approach is safer than trying to force the lawn too hard.

    Can I Put Humic Acid Down After Topdressing?

    Humic acid can be applied after topdressing and may help support soil activity and nutrient availability.

    It will not magically level the lawn or replace fertilizer, but it can be part of a good recovery program.

    If you already planned to use humic acid, applying it after watering in the sand can be a good option.

    Can I Mow with Sand Still Showing?

    Yes, but be careful.

    You can mow once the sand has settled and the grass is standing back up.

    If large amounts of loose sand are still sitting on top, brush it in or water it down first.

    Sand can dull mower blades, especially reel mower blades, so you want as much sand worked down into the canopy as possible before mowing.

    How to Know Your Lawn Is Recovering

    Good signs after topdressing include:

    • Green blades pushing through the sand
    • Bermuda runners spreading across bare spots
    • Sand settling into low areas
    • The lawn becoming smoother after mowing
    • New shoots appearing in thin areas

    If you see these signs, your lawn is doing what it is supposed to do.

    The Long-Term Benefits of Sand Topdressing

    Topdressing is not just about making the lawn look better right now.

    It is about improving the lawn over time.

    With repeated light topdressing, Bermuda lawns can become:

    • Smoother
    • Thicker
    • Easier to mow
    • Better draining
    • More even in color and growth

    A smoother lawn also reduces scalping when mowing low.

    That is especially important if you are using a reel mower and trying to create that golf-course-style Bermuda look.

    Final Thoughts: Trust the Process

    If your Bermuda lawn is covered in sand after topdressing, do not panic.

    That sandy phase is part of the process.

    The most important things to do next are:

    • Level the sand evenly
    • Water it in
    • Keep the lawn moist but not soaked
    • Resume mowing once the grass stands back up
    • Fertilize during active growth
    • Give the Bermuda time to spread

    What looks like a sandy mess today can become a smoother, thicker, healthier Bermuda lawn over the next few weeks.

    Topdressing is one of those lawn projects where the results are not always instant, but they are worth it.

    Be patient, keep mowing, keep watering correctly, and let the Bermuda do what Bermuda does best:

    Spread, recover, and turn that sand-covered yard back into a thick green carpet.